Have you ever noticed how some travel photos seem to tell a story, while others simply capture a place? When you're exploring, every snap you take can turn into a cherished memory. This guide offers simple tips like adjusting your camera's settings, think of it as uncovering a hidden trick, and planning each shot with a bit of care. It’s not just about taking pictures; it’s about framing moments that bring your adventure to life. So, are you ready to turn everyday sights into story-filled snapshots? Let’s dive into the secrets of travel photography together.
Travel Photography Mastery: Achieving Expert-Level Shots
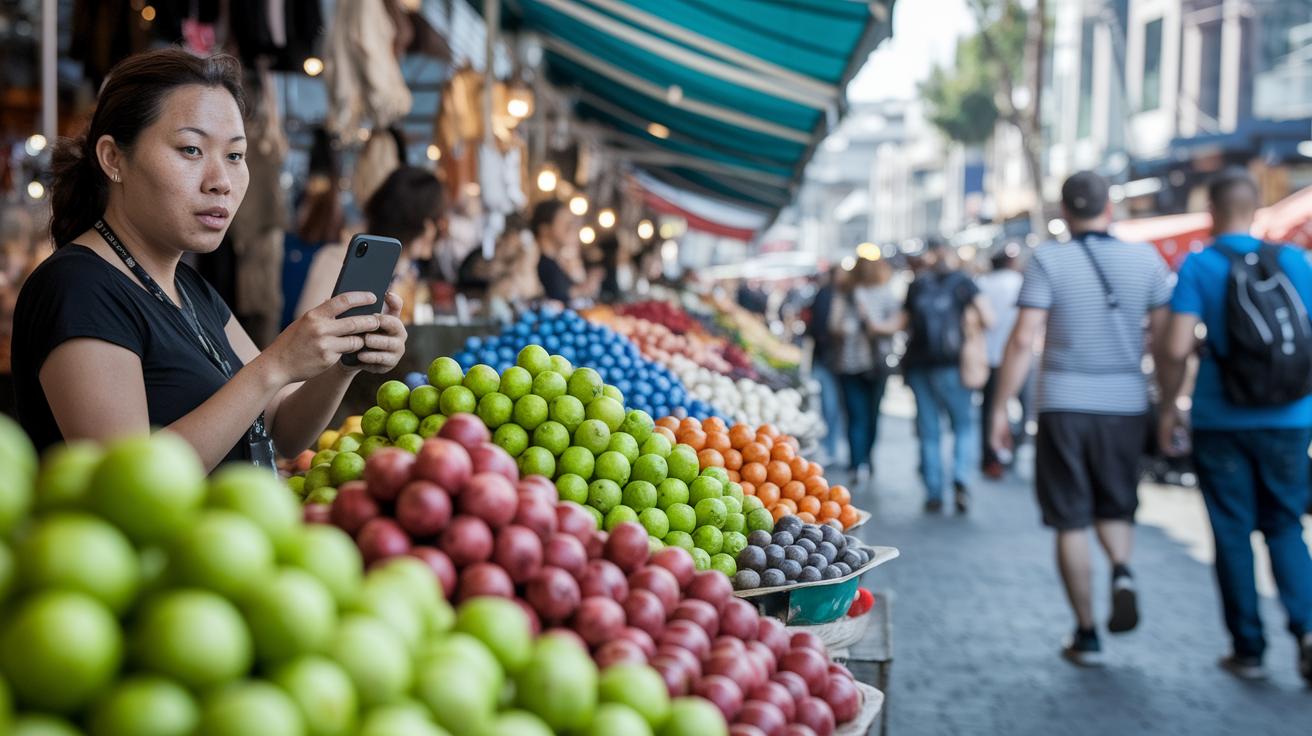
Imagine capturing the true soul of a place. It’s not just about snapping pictures during your vacation; it’s about creating photos that tell a story. Picture this: you wander into a bustling market in Europe at sunrise, where the gentle glow of the morning light mixes with every stunning little detail. It’s those moments, full of life and color, that everyday clicks just don’t capture.
Getting really good at travel photography takes a bit of know-how. You need to play with your camera’s settings, plan your shots carefully, and notice how the light adds magic to your pictures. Every step matters, from tweaking your camera’s settings to framing your shot perfectly with simple rules. Think of it like catching a quick smile on a busy street, where every change in the scene tells its own story.
Up next, we’re diving deeper into smart ways to plan your shots and pick gear that goes wherever your adventure leads. Get ready to explore tips that can turn any ordinary scene into a memory that lasts a lifetime.
Pro Camera Settings for Expert Travel Photography Techniques
Playing around with your camera’s aperture can really change how much of your scene stays sharp. You can use it to control depth, like on the Sony ZV-1 II, set it to f/1.8 for a dreamy, soft background while keeping your subject clear. And when you’re using a travel zoom, try f/3.5 to f/5.6 for a neat balance between the subject and its surroundings. It’s like giving your picture a little story; think of a lively market where every smile glows against a gently blurred crowd.
For freezing action or capturing smooth motion, shutter speed and ISO are your best pals. A fast shutter speed, faster than 1/500 sec, is great for locking in a street performer’s move or the buzz of city life. On the other hand, a slower speed can let a bit of motion blur tell a story, like the soft rush of wind along a coastal road. And don’t forget ISO: keep it low (around 100–400) when it’s bright out to hold on to those crisp details, but feel free to bump it up a bit in dimmer settings, like a surprise twilight parade.
Tuning your white balance and choosing the right time to shoot complete the magic. Adjust your camera’s custom white balance, say, on a Canon EOS RP with its 26 MP sensor, to match the unique colors of your scene. Then, embrace the wonders of golden hour, roughly 30 minutes before sunrise or 15–45 minutes after sunset, and even capture the cool vibes of blue hour during twilight. These tweaks help your photos burst with the true colors and feelings of every amazing place you visit.
Advanced Composition Strategies in Travel Photography
Expert composition is the secret sauce that turns everyday scenes into memorable travel photos. When you carefully arrange the elements in your shot, you guide the viewer's eye straight to what matters and capture the real vibe of a place. Whether you're exploring bustling city streets or peaceful natural landscapes, a thoughtful approach to framing makes your photos feel extra special.
Getting the hang of these techniques takes a keen eye and a bit of on-the-spot planning. You learn to balance your subject with its surroundings, use roads or building curves to your advantage, and frame out distractions so the main story shines through. It's all about finding that sweet spot where every photo tells its own unique tale.
Rule of Thirds
Imagine splitting your view with a simple grid. Place the main subjects right at the intersections to create a natural balance. For example, picture a lone traveler on a busy street, perfectly aligned along one of the grid lines.
Leading Lines
Look for roads, trails, or even the edges of buildings that guide your eye toward the focus of the image. This trick adds a dynamic sense of depth that pulls you right into the scene.
Symmetry and Balance
Try mirroring elements in your shot to bring a sense of harmony and order. This technique highlights the beautiful, organized side of the world around us.
Depth of Field Isolation
Adjust your camera's settings to blur the background and make your subject pop. This method is like shining a spotlight on your main feature, unforgettable in every detail.
Creative Use of Black-and-White
Sometimes ditching color can help you zero in on shapes and textures. Black-and-white photos offer a classic, timeless feel that invites you to see the world differently.
Mixing these tips can help you create images that not only look balanced but also burst with story and character. Give them a try and watch your travel photography go from simple snapshots to pieces of art you truly love.
Mastering Natural and Ambient Lighting in Travel Photography

Natural outdoor light fills your photos with the real feel of a place. Try shooting during the golden hour – about 30 minutes before sunrise and 15 to 45 minutes after sunset. The light is warm and soft, making everything look friendly and inviting. Blue hour, which comes right after sunset or just before sunrise, wraps your scene in cool, dreamy tones that feel like a quiet, magical pause.
Sometimes, the weather might not play along. When clouds take over, the soft ambient light comes to the rescue. Overcast skies spread a gentle glow that smooths out harsh shadows and brings out little details. It’s like the world softens just for your camera, filling your shots with natural color and texture.
- Try exposure bracketing to capture every bit of detail in different light.
- Use long exposures to create smooth water effects and cool light trails.
- Bring along a reflector or diffuser to tame the bright midday sun.
- Embrace ambient light on cloudy days to keep your colors naturally balanced.
Planning ahead makes all the difference. Check out your location and watch how the light changes as you move. Adjust your camera settings as you go and trust your gut on the best moment to snap the shot. With a bit of patience and creativity, you’ll turn every lighting challenge into a stunning photo story.
International Travel Photography Gear Selection and Compact Equipment Rundown
When you're exploring new places and snapping photos on the fly, having the right camera gear is a game changer. Whether you're a pro or just starting your travel photography adventure, choosing high-quality yet compact equipment makes every shot count. For example, a camera like the Canon EOS RP, with a 26 MP sensor, or the Nikon Z50, which shines in low light, lets you capture both busy city streets and quiet, scenic views. And if you love quick, spontaneous captures, a pocket-friendly camera like the Sony ZV-1 II can be your new best friend.
Lenses are just as important, too. A lens like the Nikon AF-S DX 18-105 mm f/3.5-5.6 VR offers a wide zoom range and built-in image stabilization, perfect for those on-the-go moments. Every piece of your kit works together to help you relive and share your travel memories. Packing light doesn’t mean you have to compromise on quality, so you can focus more on exploring and less on lugging around heavy equipment.
| Type | Model | Key Feature |
|---|---|---|
| Camera Body | Canon EOS RP | 26 MP full-frame sensor for crisp images |
| Lens | Nikon AF-S DX 18-105 mm f/3.5-5.6 VR | Versatile zoom with built-in image stabilization |
| Tripod | Joby Gorillapod | Lightweight option for steady setups |
| Backpack | Manfrotto PRO Light Multiloader | Padded bag to keep your gear safe |
| Drone | DJI Mavic 2 Pro | High-quality aerial shots with great detail |
Taking care of your gear is just as important as choosing the right pieces. Before each adventure, give your camera and lenses a quick clean, and think about using cases like the Pelican Air 1525 when the weather turns rough. Balancing high performance with easy packing means you can travel light and still capture every epic moment along your journey.
Strategic Location Scouting and Shot Planning for Travel Photography

Before you pack your camera, take a little time to learn about your destination. A bit of planning can help you tell a true story with your photos, showing off each place's unique vibe. It’s all about knowing when the light is just right, spotting quiet moments, and catching little cultural snapshots.
- Start by checking out your destination. Look into famous spots like Paris, Rome, or Tokyo and write down the landmarks you don’t want to miss.
- Check the local light. Plan to shoot during golden hour or blue hour when the natural light is soft and beautiful.
- Look for different angles by wandering through busy markets, peaceful city corners, or vibrant local festivals.
- Notice when fewer people are around so you can get clear and focused shots.
- Keep local photography rules in mind. Make sure you know when to ask for permission or if permits are needed.
- Pack a checklist with extra gear and plenty of memory storage so you never miss a special moment.
While it’s smart to follow your plan, be ready to switch things up if the weather changes or the crowd grows suddenly. Sometimes the unexpected is the best part of the adventure. Stay safe, respect local guidelines, and enjoy capturing every moment.
Expert Post-Processing Workflow for Travel Photography Techniques
When you first load your RAW files into Adobe Lightroom, you unlock a world of detail and color. You start by sorting through your shots and making simple tweaks like white balance, contrast, and exposure. It’s kind of like giving a bit of extra sparkle to a photo that just felt a bit flat. Working in RAW means you keep all the tiny details that make your image special.
Next, you can dive into the more detailed edits. In Adobe Photoshop, play around with the HSL sliders and curves to adjust hues and saturation until the image really pops. Techniques such as merging multiple exposures (a method to combine different shots for a fuller range of light) come in handy, especially in tricky lighting. And hey, if you’re on the move, Snapseed is a great tool for quick fixes on your phone.
Finally, get your photos ready to share by fine-tuning export settings and neatly organizing your files. Setting up export presets in Lightroom saves time and makes the whole routine smoother, like packing your camera bag the same way each time. Keeping a consistent workflow not only protects your precious images but also boosts your creative process every time you travel.
Final Words
In the action, this expert guide to mastering travel photography techniques showed you how to elevate your travel snaps from casual clicks to stunning visuals. We've covered everything from fine-tuning camera settings and composing dynamic shots to using natural light, selecting compact gear, scouting unique locations, and nailing post-processing workflows.
Every tip is designed to help you capture your journey's magic with a balanced mix of planning and creativity. Embrace these insights and enjoy every moment behind the lens on your next adventure.